This afternoon we picked up where we left off removing the heater. The flare fitting was hanging up a bit and I had to disconnect it under the floor and push it down so it wouldn't catch on anything. The wires were connected with wire nuts and covered in electric tape and wedged between the heater and the wall between the heater and the electrical converter. Those wires had to be fed through the hole into the electric section so I could disconnect them. I labeled the wires as I took them apart so I know how to reconnect them.

 |
| Here's where the power from the hitch plug (Fat cable), battery and brake controller go through the floor. Since there was already a splice before the hitch plug, we disconnected there and pulled that cable and the battery wire into the cabin through the floor. We'll re-feed it after the box is replaced. The brake controller and kill cable was connected by a wire nut and easily disconnected inside. The gray wire from the brake kill cable had to be cut but it already had a splice. |
I don't have many pictures of the next 2 hours since we basically kept finding additional screws and TONS of staples in the wheel wells. This alone took the bulk of time. We just kept testing and trying to identify where we had missed a screw or where some screw was covered by something added after the body was built. Screws were under caulk, hidden by the plug for the refrigerator, under a backer board for that plug, etc. etc. The people that build these do not plan on taking them apart and may be paid by the staple!
The lifting crew started arriving at about 3:30. We had 6 people to make sure it held together and didn't flex too much. The weight was not the issue. Just bulkiness and trying to keep the movement and framing together.
 |
| I pre-positioned 2x- blocking to help support the areas that looked heaviest and also to protect the sidewalls which hand lower than the bench and cabinet floors. I added more blocks and moved these after it was placed on the floor. |
 |
| I think we were all so ready to see this thing come off that we didn't balance our lifting effort. It came off the floor pretty easily. I had previously run a putty knife under all of the parts that had been screwed down so there was only caulking or adhesive holding the walls to the edges of the floor. |
The lift went really fast!
 |
You can see the clamps and boards we used to hold the door wall together and we used clamps and the longer table at the back to provide a little bit more support. |
 |
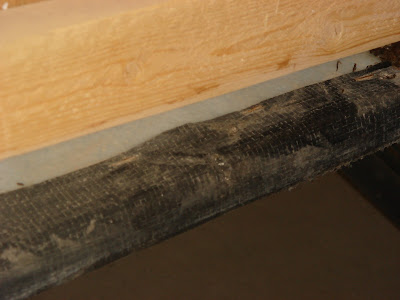
| The primary damaged spot. |
 |
| This is a Styrofoam sheet that was under the refrigerator to keep it level I think. I disconnected the flare fitting from the refrigerator and then the one from the Tee that goes to the stove. |
 |
| The two sections separated. Will they ever meet again? I hope so. Trips are being planned. |
 |
| As you can see here there are many staples in the wheel well. The ones going straight up were not the real problem it was the ones going horizontal and on the angled section of the wheel well that caused us problems. There were also many screws in each wheel well hidden by a thick layer of black caulking. |
 |
| Here's the box on the garage floor with blocking. I moved this blocking around once it was on the floor and added more wherever it seemed to sag a little bit. |


